So here is how I did it...
1) I took a shoe box and cut a small square out on the front using a scalpel
2) I painted the inside of the box black until it was covered all over
3) Once the paint was dry a piece of tin foil was placed over the hole and sealed with gaffer tape
4) I made a shutter by cutting out a square of cardboard and sticking it over the piece of foil
5) I stuck some gaffer tape inside the box at the back so the photographic paper would stay upwards when I need to take a picture
6) I worked out how long the camera would need to be exposed for by using an equation, the width of the box was 170mm, it was measured in millimetres otherwise the equation would be inaccurate, this is the equation that I used:
170
0.8
= f-212.5
7) I cut some photographic paper and stuck it inside my camera, once I had sealed the box up so no light could get in I could go out and take some photos
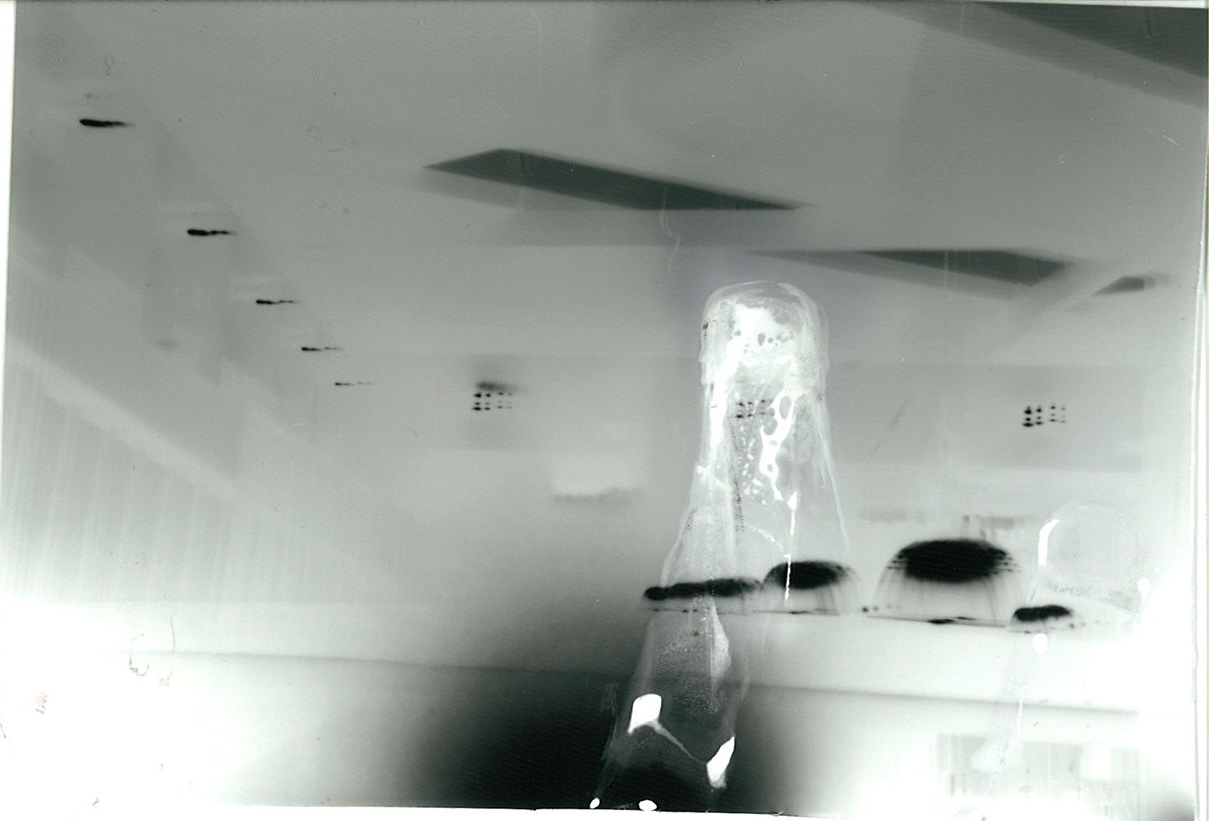
8) I went outside to take my first picture, I pointed the camera at a particular piece of scenery and exposed it for approximately 1 minute. Once that minute was up I immediately closed the shutter and brought it to the dark room
9) In the dark room I used tongs to retrieve the paper out of the box and dipped it into the developer and left it there for 1 minute
10) I took it out of the developer and dipped it into the fixer and left it there for 5 minutes
11) I then dipped it into cold water, this is known as the stop
12) I then dried my picture and put it into my book
Scanning the photos
I took both of my photos to the scanner where they were sent to my computer. In order to do this I had signed into the photocopier and selected the 'Send' option. I chose for the pictures to be send as JPEGs so they would be compatible for Adobe Photoshop. I had received them via e-mail and saved them to my computer so I would be able to upload them to my blog.
I opened the images up onto Adobe Photoshop and used the adjustments tool to invert the picture, this made them go from positive to negative, here is what I ended up with...